
Castle Siege Rewards
- 1st place always goes to the guild that captured the castle. It receives a fixed prize in web credits + 50% of the credits spent by players on its server on Grand Resets + 5% of the market transaction fees.
- 2nd and 3rd places are determined by the points scored during the siege. These guilds receive a fixed amount of web credits, depending on the server settings.
Point system
- Castle Gate: 40 points
- Cannon Tower: 30 points
- Guardian Statue: 50 points
- Holding the Crown: 7 points per second
- Successful seal registration: 150 points
You need at least 5 points to receive a reward.
Registration and requirements
- On our servers, registration is automatic: the top 3 guilds by Guild Buff are allowed to participate.
- Registration takes place on Sunday at 12:00.
- Only 3 guilds can take part in the siege.
- A guild needs at least 5000 Guild Buff to participate.
- The guild master of a participating guild must be at least level 200 (any class).
- If the guild that owns the castle disbands, it loses ownership of the castle.
- Attacking guild buff: the attacking guild receives +15% damage for each siege in which the castle owner does not change.
Siege flow
Basic rules
- Loren Canyon is entered from Lorencia (239, 13) or via the Warp menu.
- Valley of Loren is a PvP-enabled area.
- During a siege, you don't need to press Ctrl to attack: if you are a member of a guild or alliance taking part in the siege, your attack cursor is always active. Be careful with mass skills — you can accidentally hit your allies.
- Your outgoing damage is reduced by 50% of your base value. Additionally, damage to allies is reduced by 25%.
- Combo damage is NOT reduced from standard values.
- You cannot join or leave a guild during a siege.
Sides and icons
- The alliances of the attacking and defending guilds are automatically included in their respective teams.
- Characters of the attacking team and its allies have a sword icon above their heads; characters of the defending team and its allies have a shield icon.
- Guild masters have a crown icon instead of a sword or shield: a blue crown for the defending team and a red one for the attacking team.
- The PK penalty does not apply between members of the attacking and defending teams, but it does apply to other characters who are not taking part in the battle. This rule only applies in Valley of Loren.
- Members of the attacking and defending guilds see the siege status (mini-map) in the lower right corner of the screen.
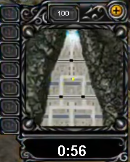
Access to Loren
- The guild that owns the castle can pass through Loren Canyon to enter the castle.
- The Warp command cannot be used during a siege, but the defending team can teleport in front of the castle using a Town Portal Scroll.
How to win: seal registration
- To win the siege, the guild master must register the guild's official seal on the pedestal on the top floor of the Dragon Tower. If successful, the castle lord is replaced.
- Only the guild master can place the official seal on the pedestal.
- To register the seal, the guild master needs to accumulate 30 seconds of seal registration.
- When a guild master successfully registers the seal, the sword icons of their guild turn into shields, and the guild now has to defend the castle. The attacking and defending teams swap places.
- The guild whose seal is registered when the siege ends becomes the owner of the castle.
Registration timer rules:
- If the guild master dies: −3 seconds of total registration time.
- If an enemy interrupts the registration: −3 seconds.
- Every minute of inactivity removes 1 second of registration.
Crown Switch:
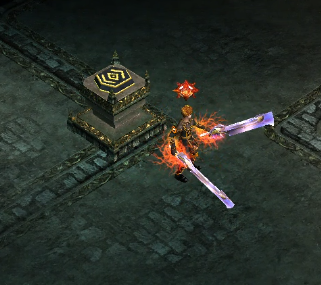
Occupied Crown Switch:
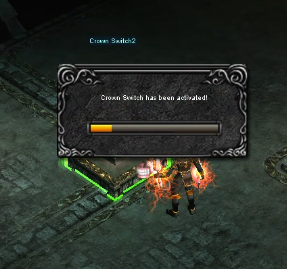
Closed Crown:
Party roles
The most common setup is a party of 5: 2 BK + 1 Elf + 1 SM + 1 DL/MG (depending on tactics).
Blade Knight
- Main damage dealer.
- Gives the party Inner (HP buff).
- Holds the line.
Soul Master
- Gives the party Soul Barrier (Mana Shield).
- Pushes opponents in the throne room with Lightning.
- Protects the Elves.
- Can hold the Crown Switch.
Muse Elf
- Buffs the entire alliance.
- Slows enemies with Ice Arrow.
Dark Lord
- Summons the party closer to the battle.
- "Dances" on the button (Crown Switch).
- Pushes opponents off the throne and the buttons with the horse skill.
- Gives critical damage and melee buffs.
Magic Gladiator
- Low defense, but strong damage.
- Applies an important debuff that reduces the enemy's defense by 30%.
Roles may change depending on your guild master's tactics, so check your role with your GM before the siege.
Life Stone
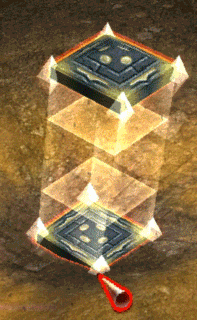
- Only the attacking team can use a Life Stone: it can be placed by the guild master or guild assistant of the attacking side.
- Placing a Life Stone takes 60 seconds.
- Once created, the Life Stone serves as the respawn point for the entire guild: killed characters of the attacking team respawn next to it, closer to the battle, instead of outside the castle.
- The Life Stone periodically restores HP/MP/AG to attacking team characters within a 3-tile radius.
- The Life Stone can be destroyed by players of the attacking or defending side.
- A Life Stone cannot be used more than 3 times per siege.
Creating a Life Stone
A Life Stone is created in the Chaos Machine with the following recipe:
- 30x Jewel of Bless
- 30x Jewel of Soul
- 30x Jewel of Life
- 30x Jewel of Creation
- 10x Jewel of Guardian
- 1x Jewel of Chaos
- 500kk Zen
Castle fortifications
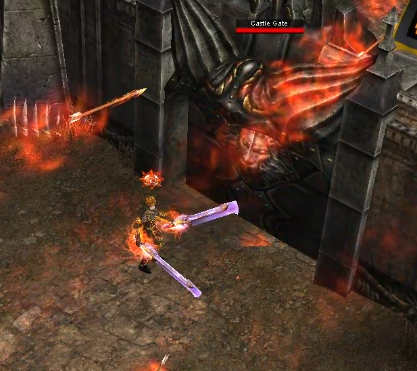
Castle Gate
- The castle gates have defense and durability (HP) and can only be attacked during a siege.
- Weapon durability drops sharply when attacking a castle gate, so it is highly recommended to use a Potion of Bless or Potion of Soul before attacking.
- If a guild captures the castle while the gate is destroyed, the gate is not rebuilt until the siege is over.
- Castle gate defense and durability can be upgraded up to 3 levels (upgrading and repairing during battle is not possible).
- The castle gates are divided into 3 parts: outer, middle and inner. Destroying any one of them is enough to enter the castle.
Closed gates:
Guardian Statues
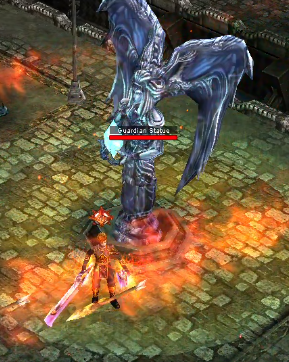
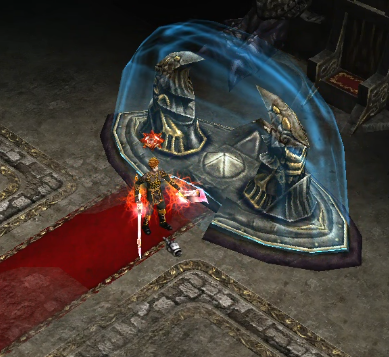
- When all 4 statues inside the castle are destroyed, the shield blocking the entrance to the Dragon Tower disappears.
- Only defenders can pass through the shield.
- The statues restore HP/MP/AG to nearby allies; the recovery rate can be upgraded up to 3 levels.
- Guardian Statues have defense and durability (HP) and can only be attacked during a siege.
- Statue defense and durability can be upgraded up to 3 levels (upgrading and repairing during battle is not possible).
Guardian Towers
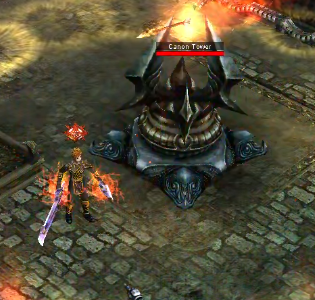
- Once the battle begins, secondary towers defend the Guardian Statues.
- The towers attack players of the attacking side around them.
- The towers can be attacked just like the gates and statues.
Dragon Tower
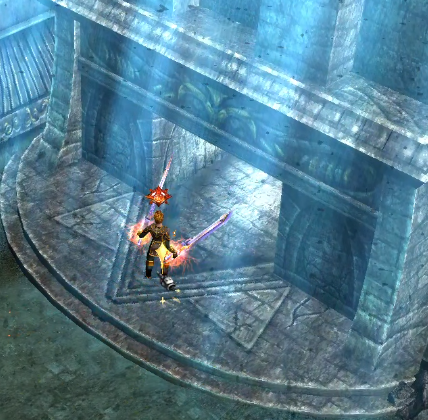
- A huge tower at the top of the castle (the throne room). It is divided into an entrance area and an upper floor.
- The upper floor contains the pedestal with the official seal of the castle lord.
- The entrance to the Dragon Tower is protected by a shield created by the defending team's forces.
- To enter the Dragon Tower, you must destroy all 4 Guardian Statues.
Siege Guns
- Siege guns are placed on the fields of the attacking and defending sides.
- Clicking a siege gun opens the attack area selection menu.
- Players can see the area being shelled by a siege gun.
Tips
- Before the siege, buy plenty of HP potions so you don't have to run back to town, and so you can share a couple with an ally if needed.
- Take a few Town Portal Scrolls — very useful if the DL can't summon the party.